آموزش کار با Error Pages در cpanel

دوستان عزیز پیشگام وبی امیدوارم که حالتون خوب باشه ، امروز با آموزش کار با Indexes در cpanel خدمتتون هستیم و امیدوارم توضیحاتی که در این مطلب و یا در انتها مطلب که بصورت فیلم قرارداده شده بتونه به شما کمک کنه و هر روز بیشتر پیشرفت کنید.
خوب اصلا این قسمت به چه دردی میخوره کجا بهش نیاز داریم و در کل کاربردش چی هست؟
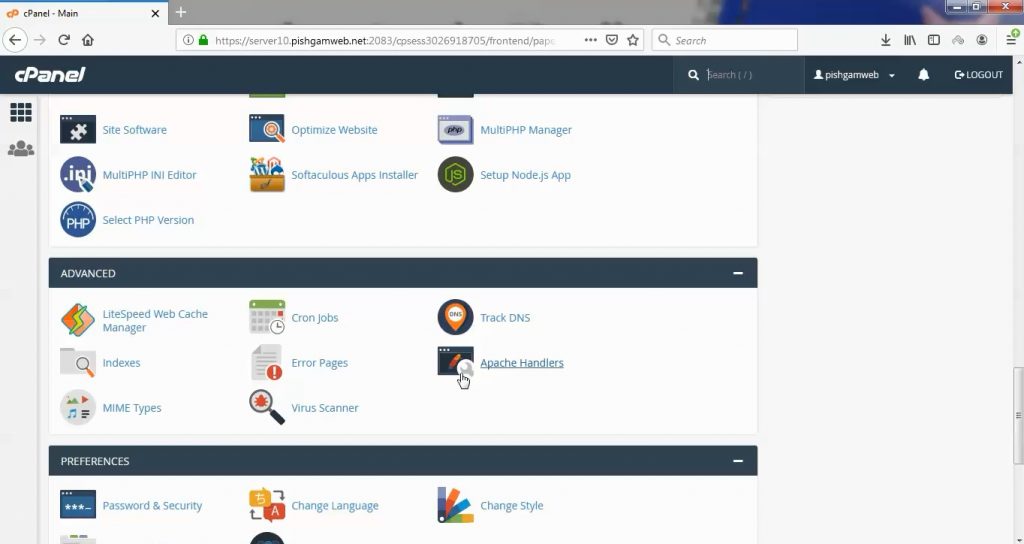
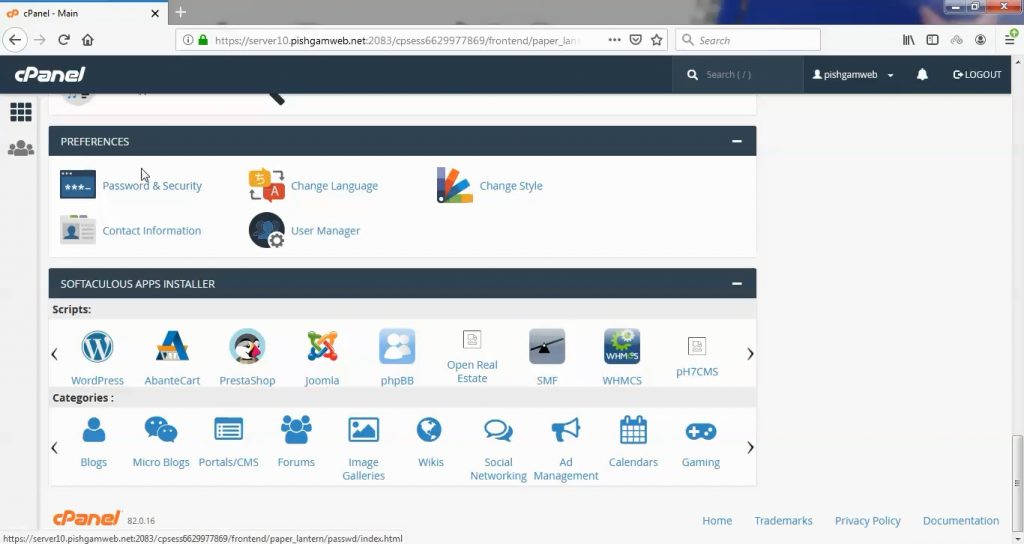
این قسمت برای تغییر پسورد در سی پنل میباشد که با عنوان Indexes در قسمت Advanced موجود میباشد.
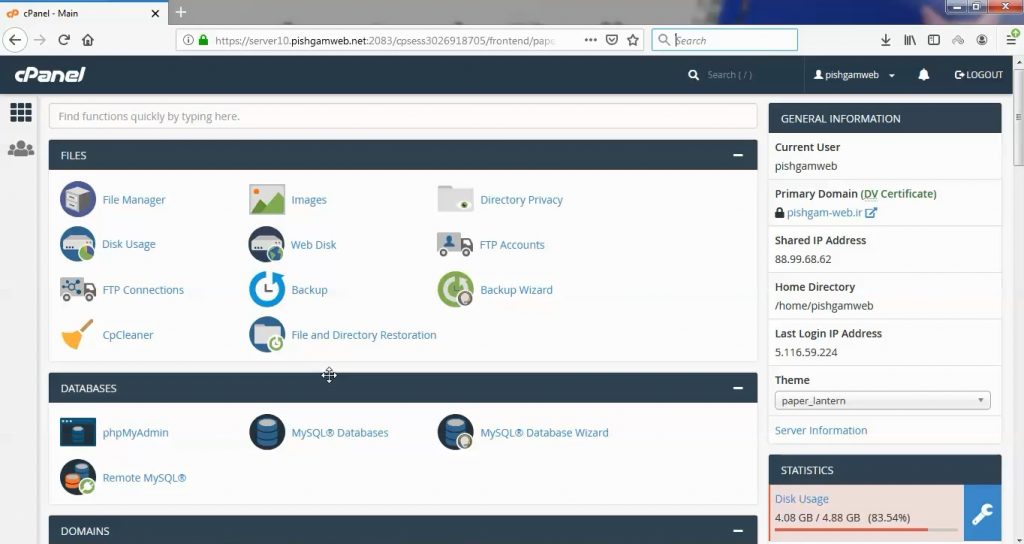
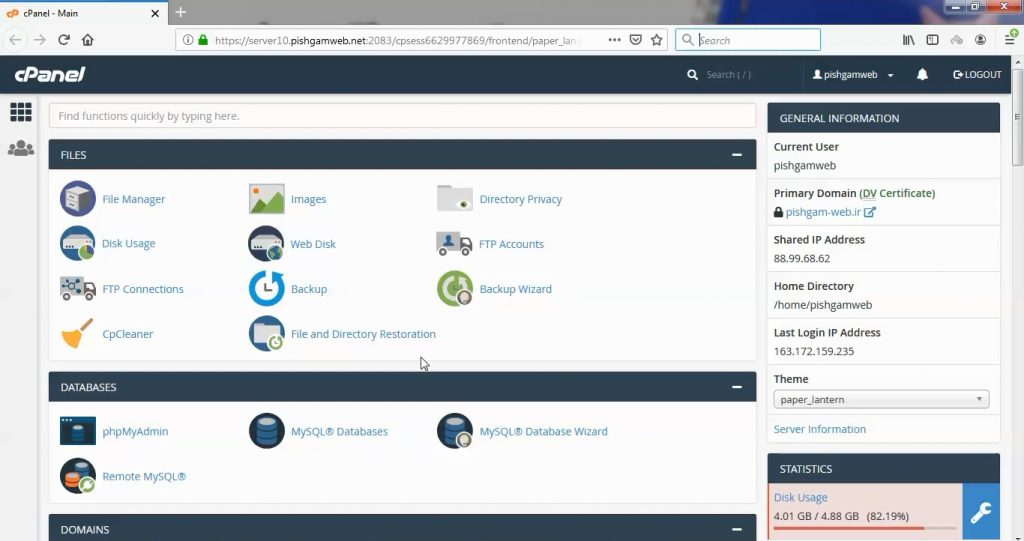
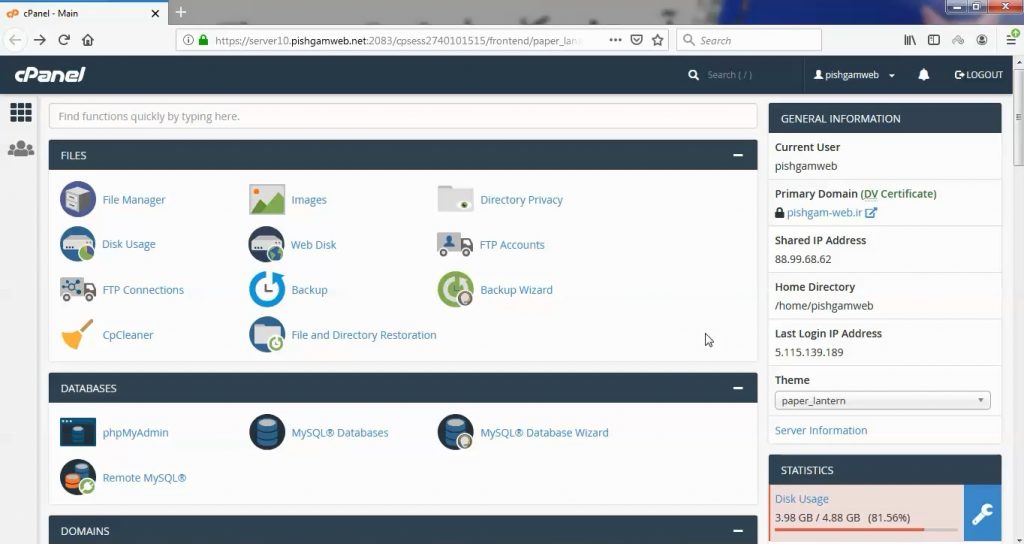
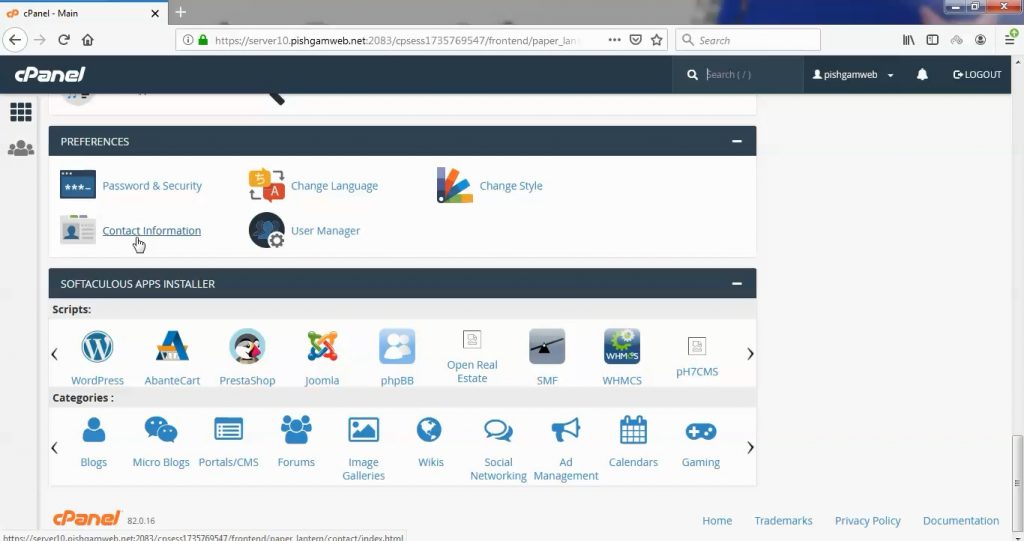
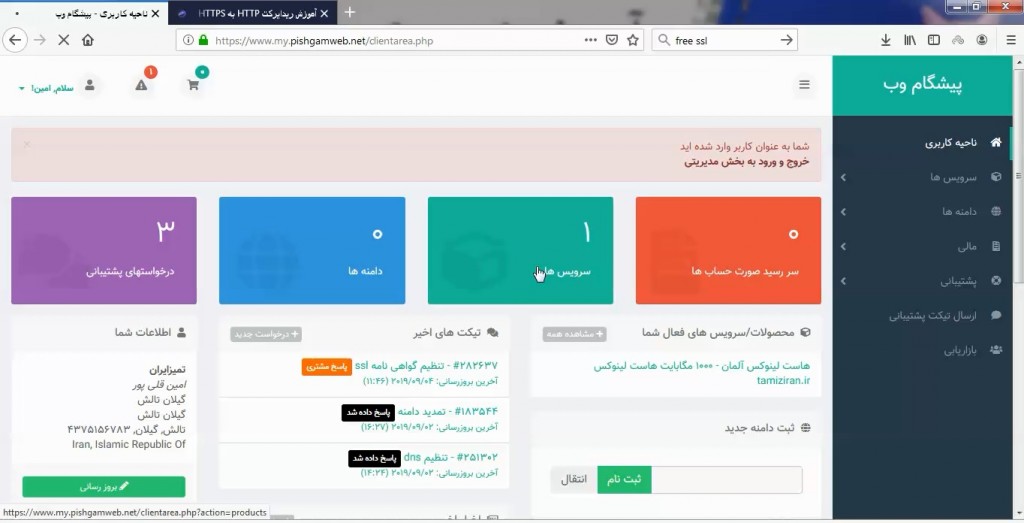
ابتدا وارد هاستمون داخل سایت پیشگام وب میشیم.
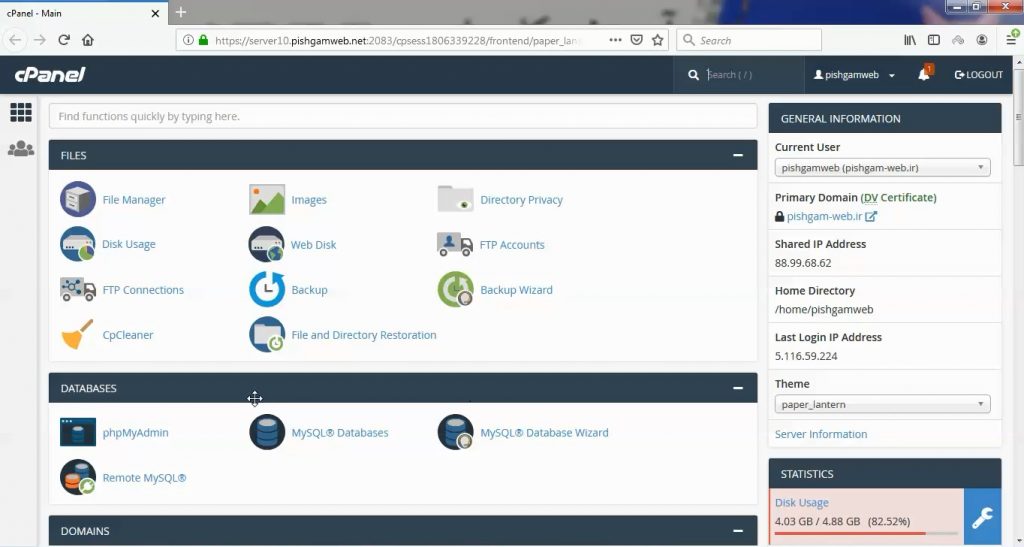
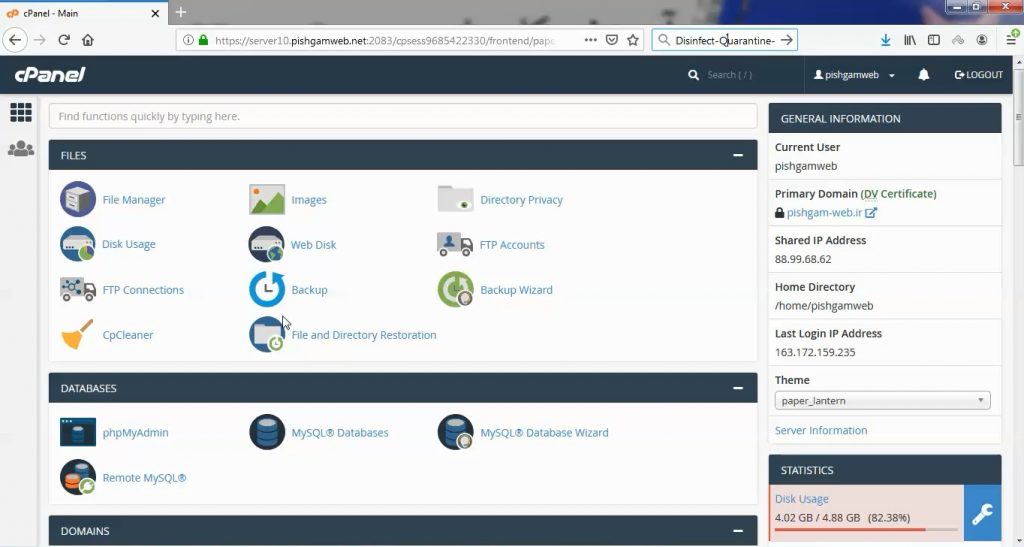
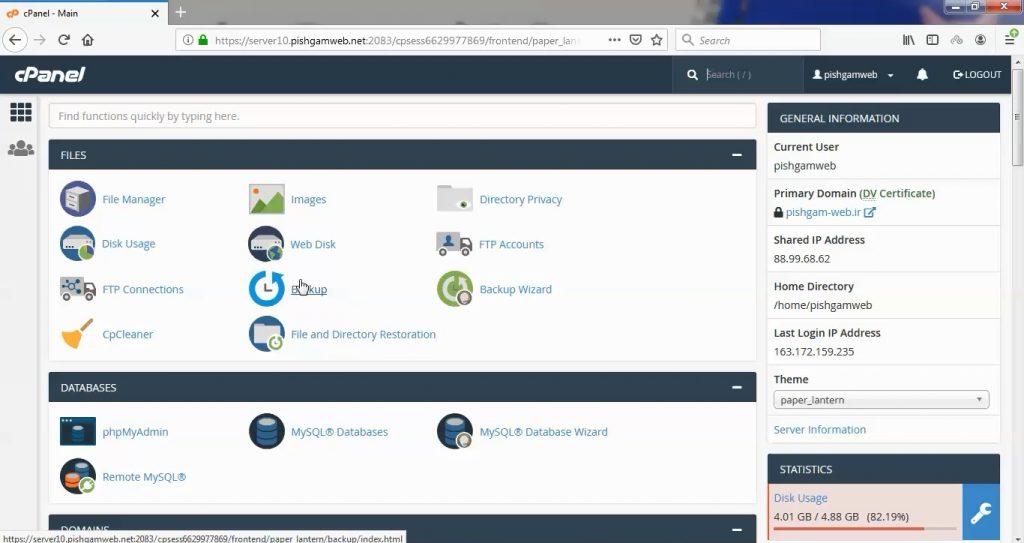
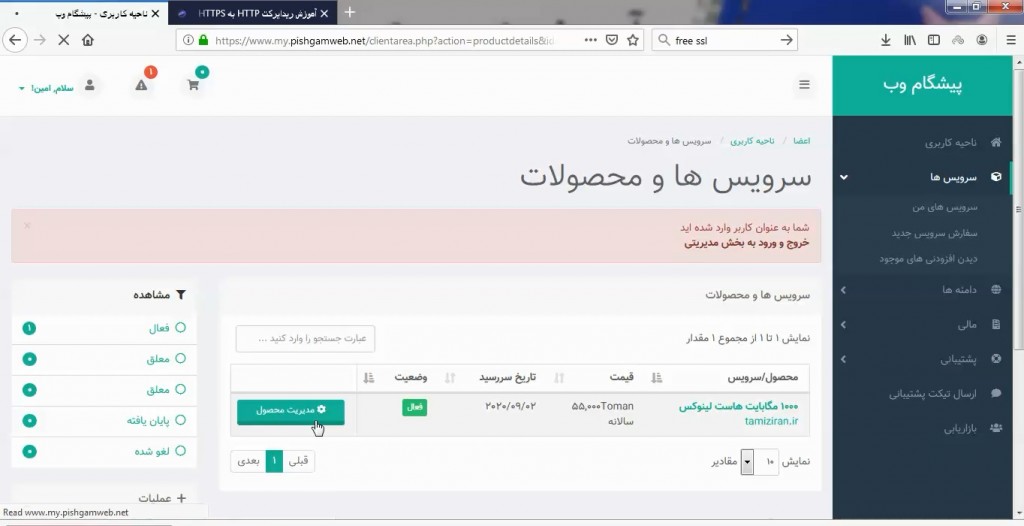
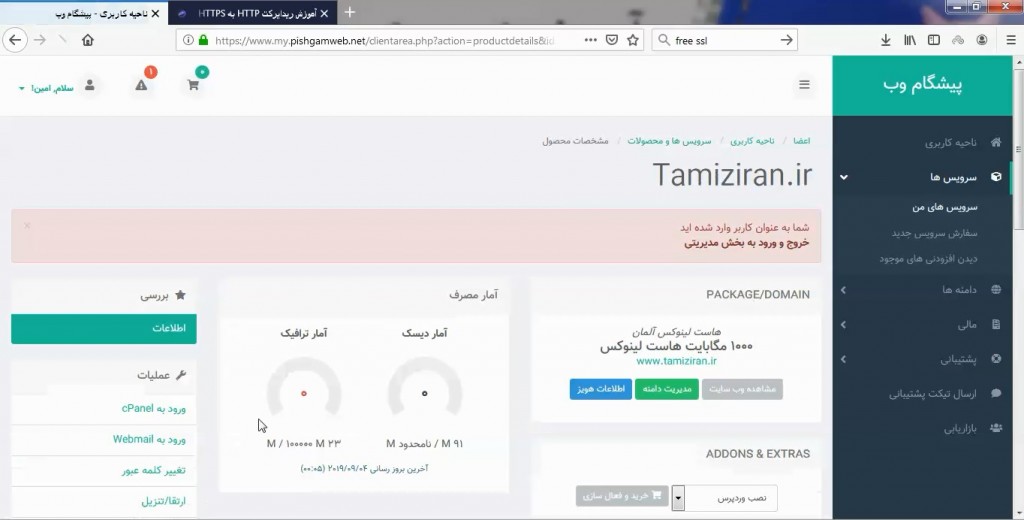
میتوانیم از سرویس های من ورود به سی پنل رو میزنید تا بصورت اتوماتیک وارد هاستمون بشیم.
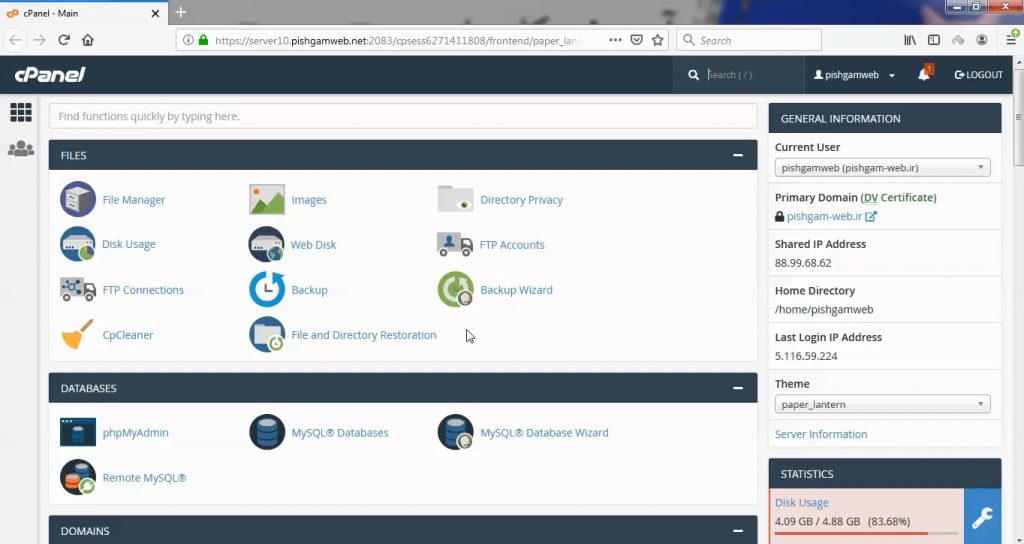
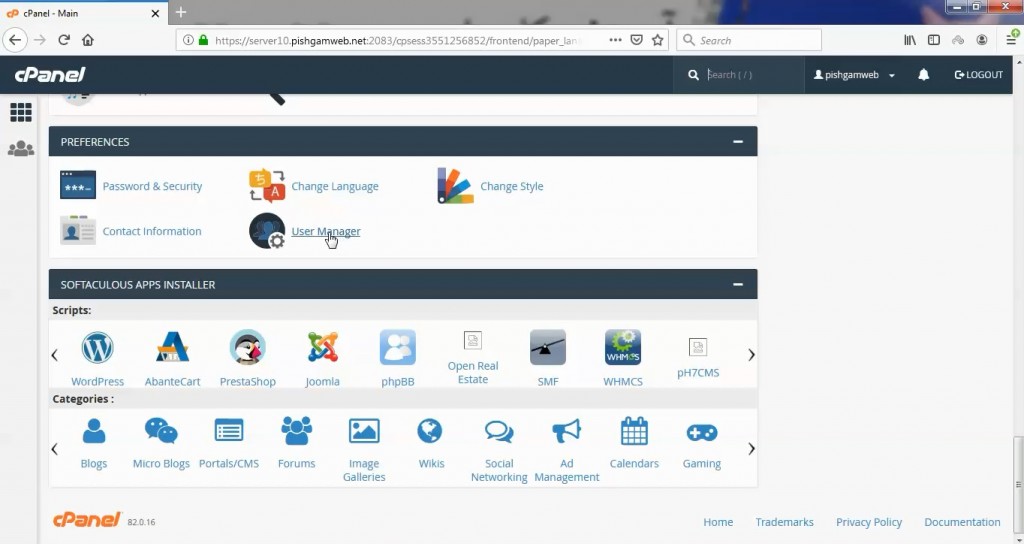
برای ورود طبق عکس روی گزینه مورد نظر کلیک میکنیم.
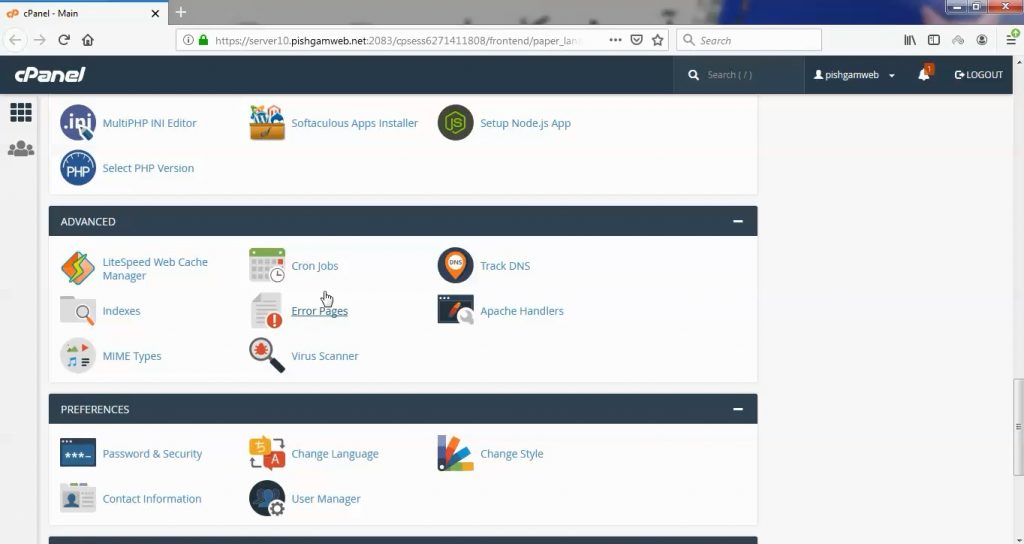
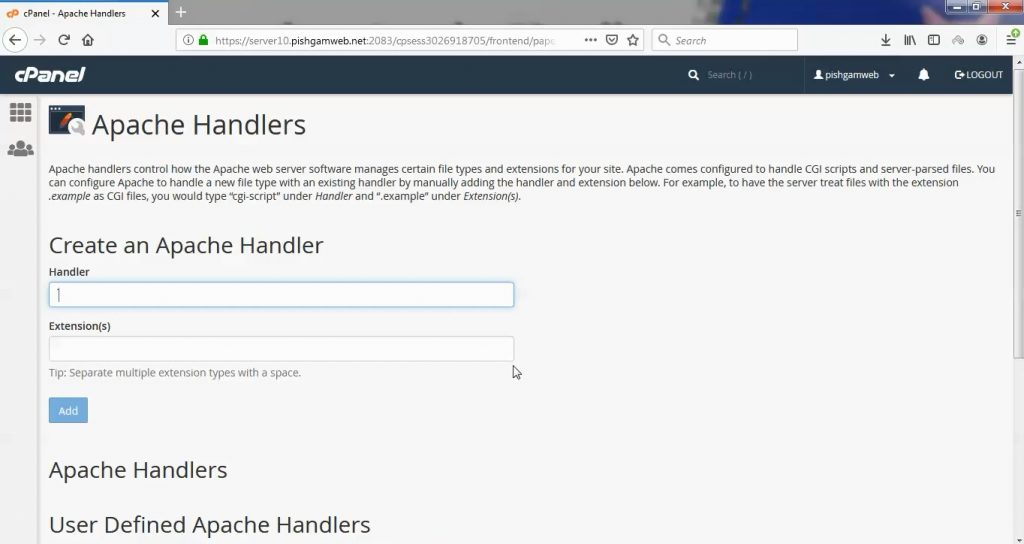
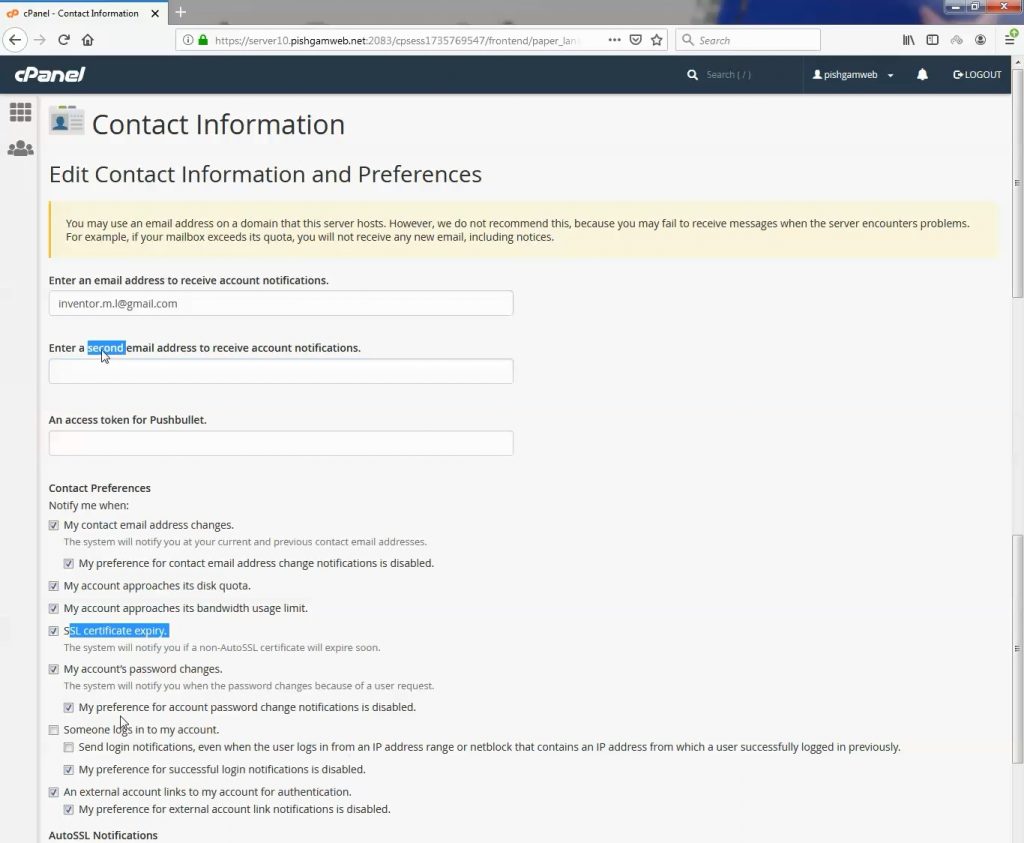
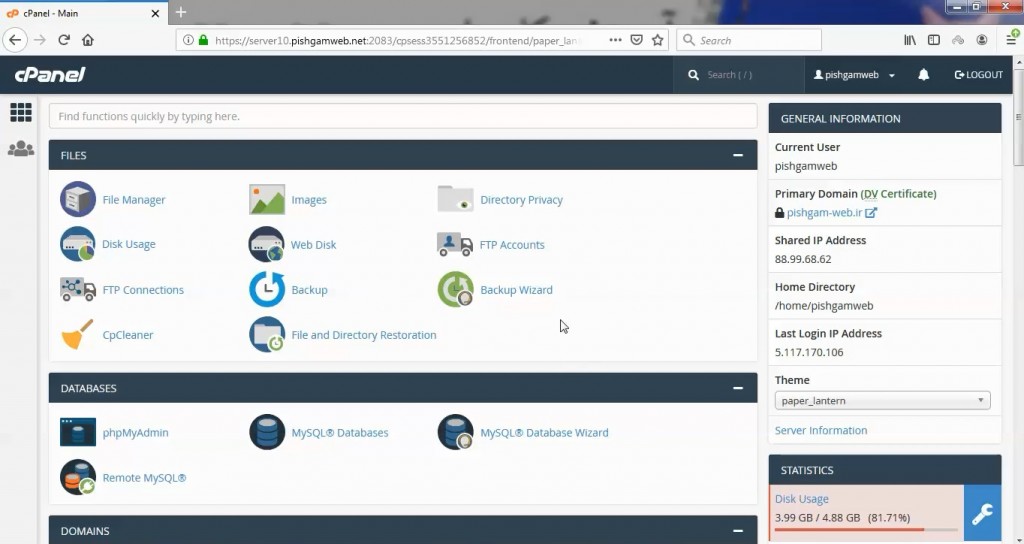
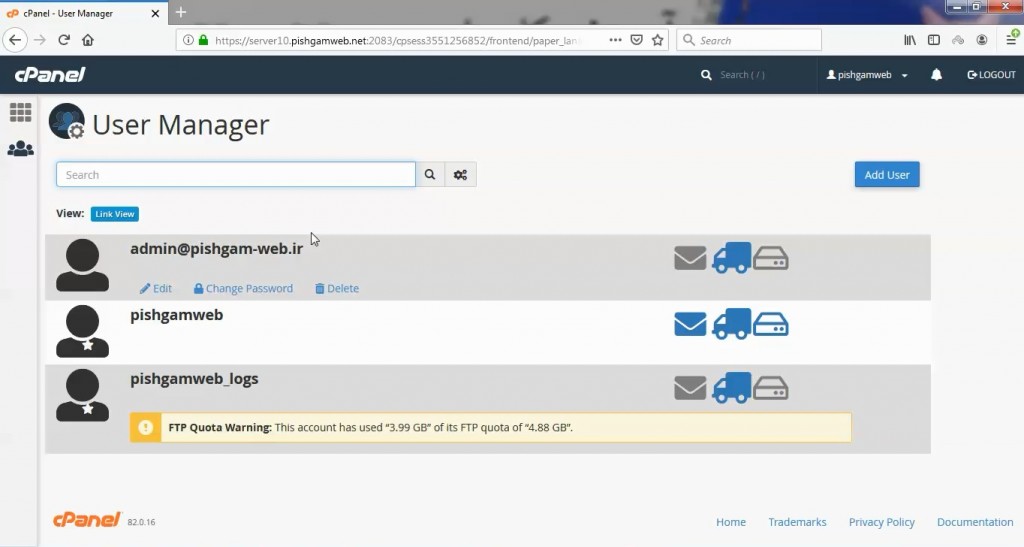
پس از ورود با صفحه زیر مواجه میشویم.
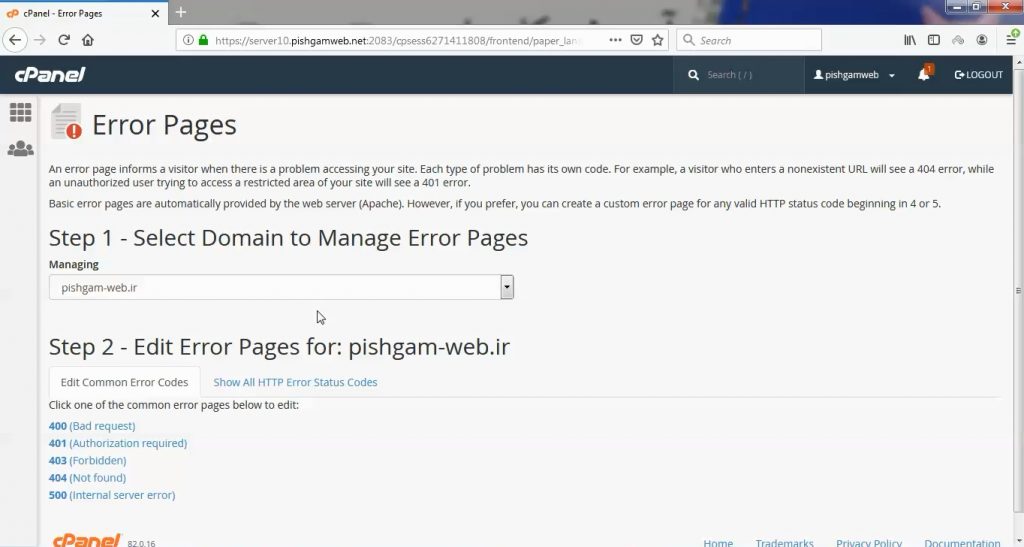
در قسمت Step 1 – Select Domain to Manage Error Pages دامنه و یا زیر دامنه ( ساب دامنه ) مورد نظر را انتخاب میکنید.
در قسمت Step 2 – Edit Error Pages for: pishgam-web.ir ارور مورد نظر را انتخاب میکنید ، در این قسمت دامنه انتخابی هم مشاهده میشود.
یکسری ارور ها که پرکاربرد هستند درقسمت Edit Common Error Codes وبرای مشاهده تمام ارور ها روی گزینه Show All HTTP Error Status Codes کلیک کنید.
لیست ارور ها در قسمت Edit Common Error Codes :
400 (Bad request)
401 (Authorization required)
403 (Forbidden)
404 (Not found)
500 (Internal server error)
لیست تمام ارور ها در قسمت Show All HTTP Error Status Codes :
400 (Bad request)
401 (Authorization required)
402 (Payment required)
403 (Forbidden)
404 (Not found)
405 (Method not allowed)
406 (Not acceptable)
407 (Proxy authentication required)
408 (Request timeout)
409 (Conflict)
410 (Gone)
411 (Length required)
412 (Precondition failed)
413 (Request entity too large)
414 (Request URI too large)
415 (Unsupported media type)
416 (Request range not satisfiable)
417 (Expectation failed)
422 (Unprocessable entity)
423 (Locked)
424 (Failed dependency)
500 (Internal server error)
501 (Not Implemented)
502 (Bad gateway)
503 (Service unavailable)
504 (Gateway timeout)
505 (HTTP version not supported)
506 (Variant also negotiates)
507 (Insufficient storage)
510 (Not extended)
اگر توجه کنید متوجه میشوید اطلاعات مربوط به اررو هم مقابل عدد ارور مشخص شده است.
مشاهده فیلم از سایت آپارات
برای دانلود فیلم آموزش از قسمت تنظیمات روی گزینه دانلود کلیک کرده و کیفیت مد نظر خود را انتخاب کنید تا فیلم آموزش دانلود گردد.
نکته : هر چقدر که عدد این قسمت بیشتر باشد ، کیفیت فیلم دانلودی بالاتر خواهد بود.
آموزش های ابتدایی :
دوستان عزیز آموزش که خدمتتون ارائه کردیم از سری آموزش های ابتدایی پیشگام وب هست و این آموزش جزو پایه ای ترین آموزش های سایت هست امیدوارم که آموزشممون کامل باشه.
منتظر نظرات و پیشنهادات شما در قسمت دیدگاه های سایت هستیم.
learn in cpanel
Overview
Error pages inform visitors about problems when they attempt to access your site. Each problem has its own status code (for example, 404) and error page.
The web server automatically provides basic error pages, but the Error Pages interface allows you to define custom error pages for any HTTP status code.
Edit an error page
To customize an error page, perform the following steps:
- If this account manages more than one domain, select the domain for which you wish to edit an error page from the Managing: menu.
- Click the error status code for which you wish to edit its error page.
- If you do not see the desired error status code in that list, click the Show All HTTP Error Status Codes tab. Then, click on the desired error status code.
- Enter a message in the text box.
- To display information on the error page about the visitor who accessed your site, click the appropriate buttons for the information that you wish to display.
- Enter additional HTML code to further customize your error pages.
- Click Save.

