آموزش کار با Indexes در cpanel

دوستان عزیز پیشگام وبی امیدوارم که حالتون خوب باشه ، امروز با آموزش کار با Indexes در cpanel خدمتتون هستیم و امیدوارم توضیحاتی که در این مطلب و یا در انتها مطلب که بصورت فیلم قرارداده شده بتونه به شما کمک کنه و هر روز بیشتر پیشرفت کنید.
خوب اصلا این قسمت به چه دردی میخوره کجا بهش نیاز داریم و در کل کاربردش چی هست؟
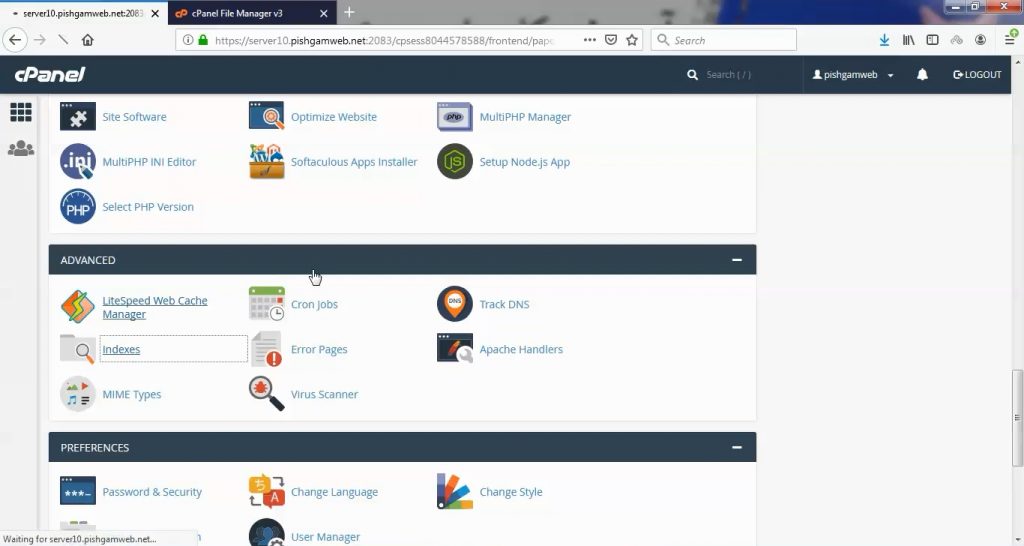
این قسمت برای تغییر پسورد در سی پنل میباشد که با عنوان Indexes در قسمت Advanced موجود میباشد.
ابتدا وارد هاستمون داخل سایت پیشگام وب میشیم.
میتوانیم از سرویس های من ورود به سی پنل رو میزنید تا بصورت اتوماتیک وارد هاستمون بشیم.
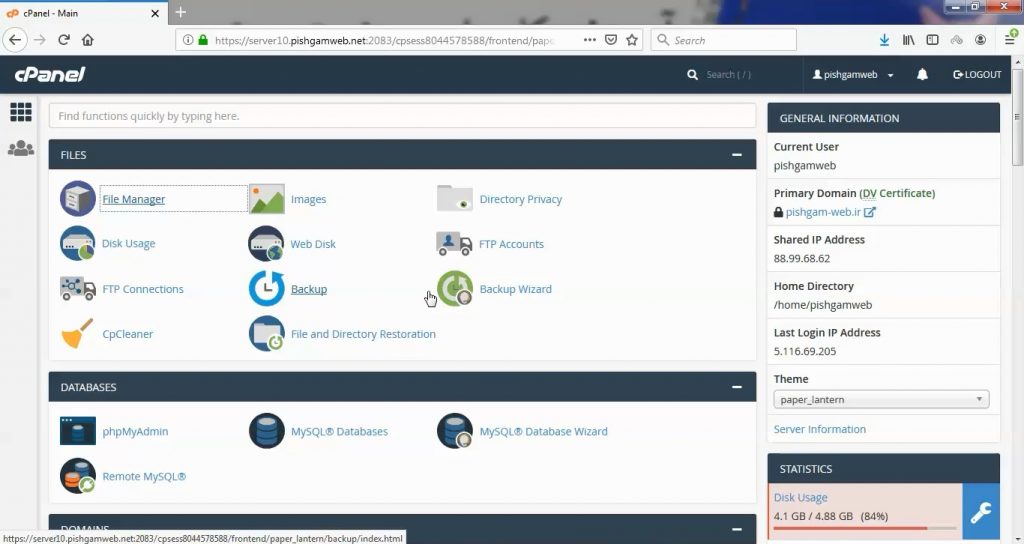
وارد فایل منیجر هاست میشیم تا فایل نمونه برای تست ایجاد کنیم.
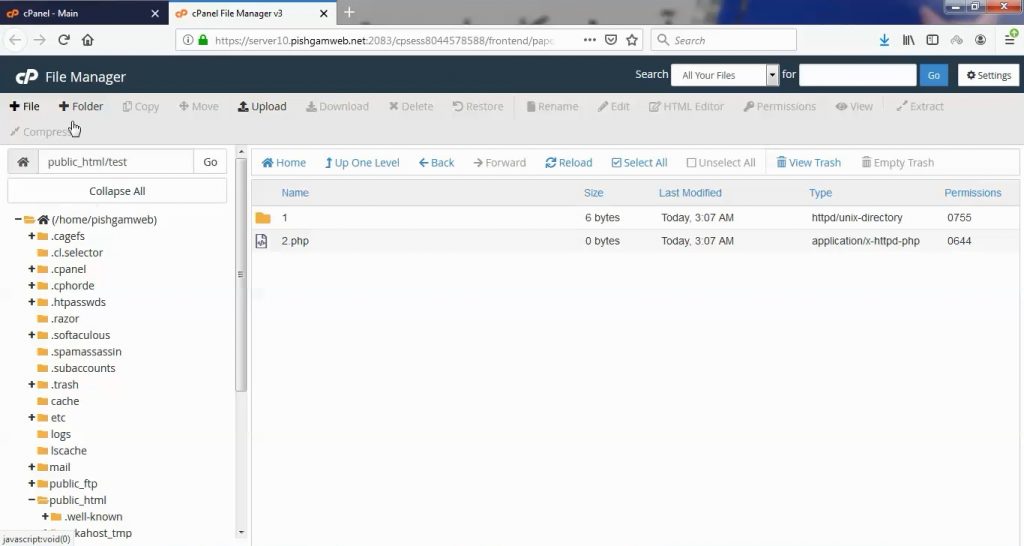
یک پوشه بنام test در پابلیک اچ تی ام ال میسازیم و در داخل اون برای نمونه یک پوشه بنام 1 و یک فایل بنام 2.php میسازیم.
از صفحه اصلی سی پنل به قسمت Indexes میرویم.
در صفحه باز شده باید پوشه مد نظر که میخواهید محدودیت مورد نظر رو ایجاد کنید انتخاب کنیم.
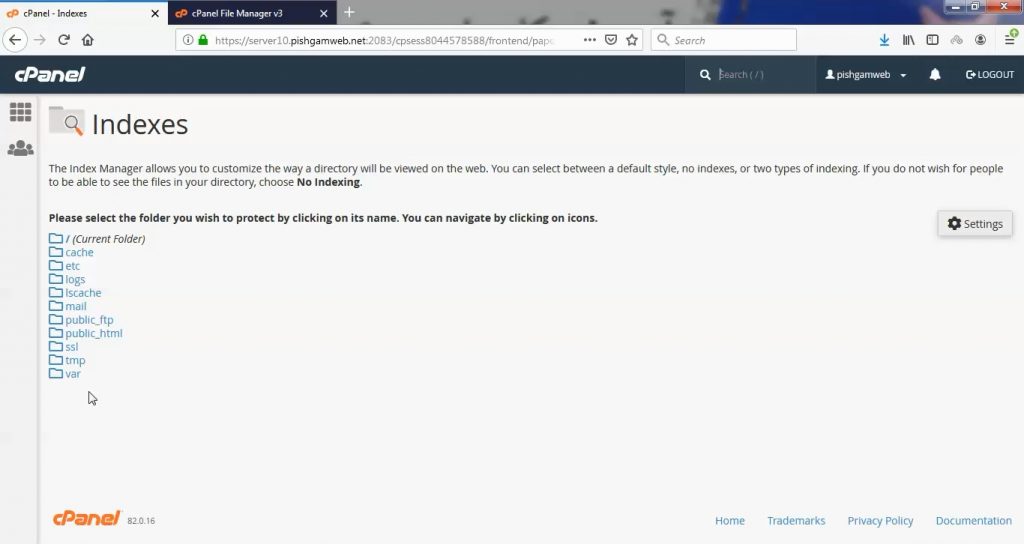
ما public_html رو انتخاب میکنیم.
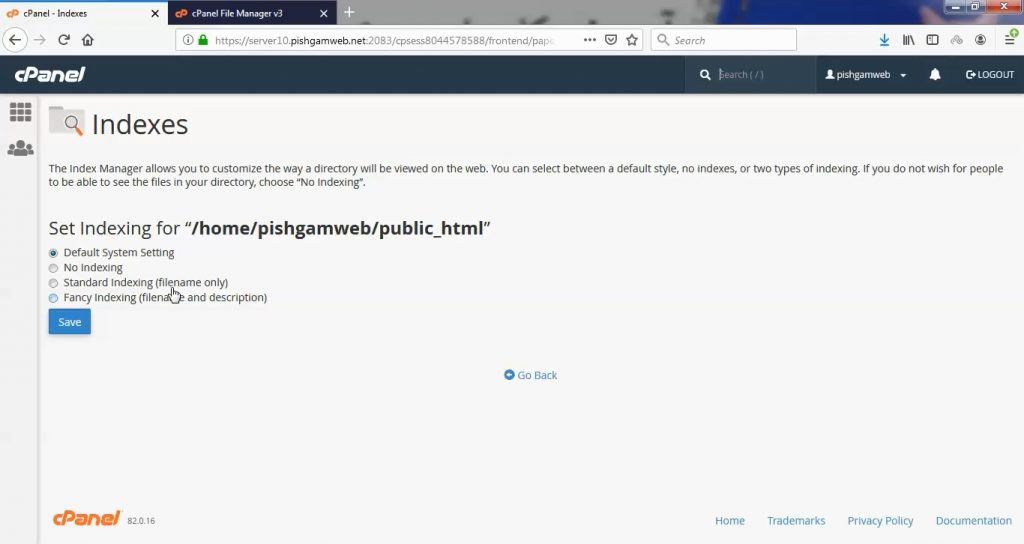
خوب چهار گزینه موجود هست.
Default System Setting : حالت دیفالت سیستم هست که توسط مدیر سرور مشخص شده است.
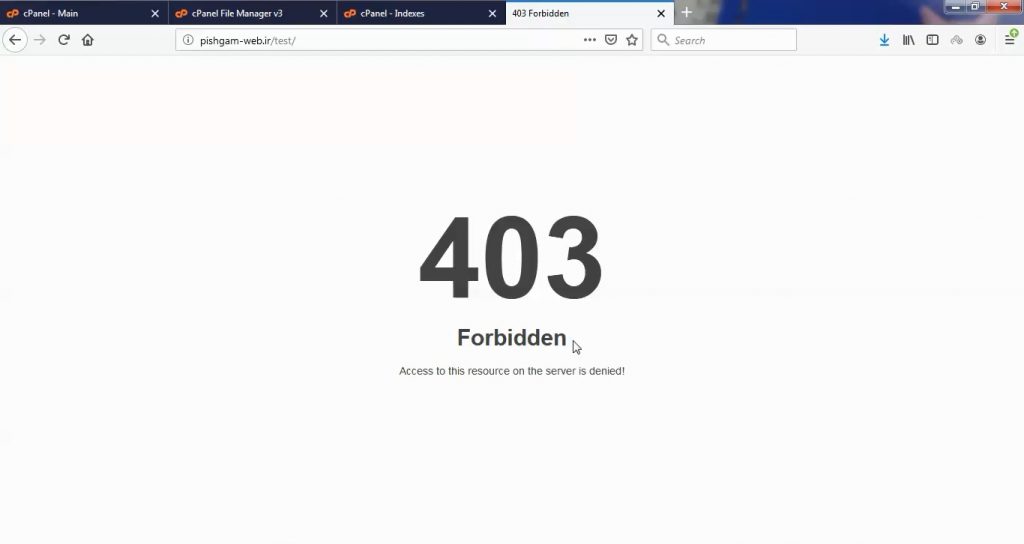
No Indexing : هیچ یک از فایل ها ایندکس نمیشود.
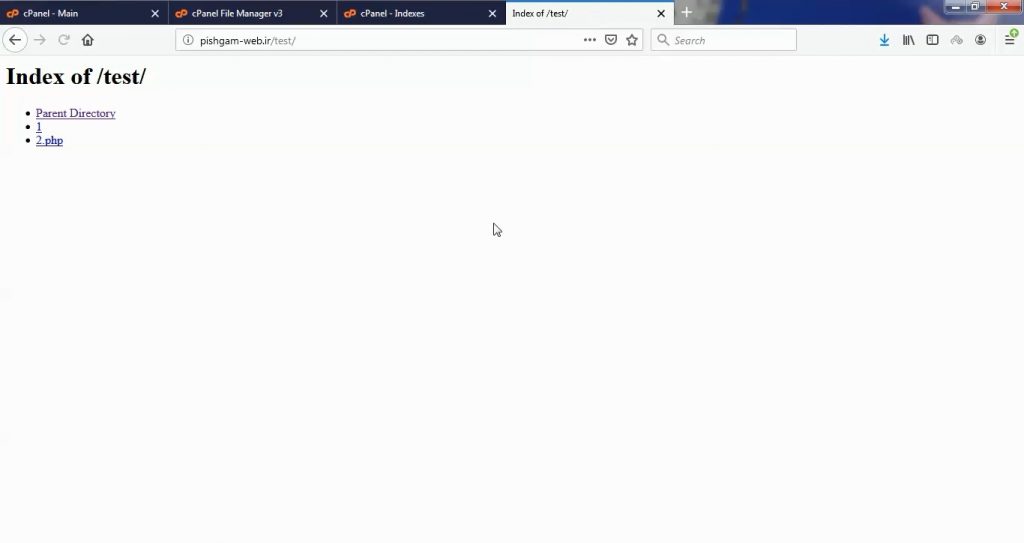
Standard Indexing (filename only) : فقط نام ها را نمایش میدهد.
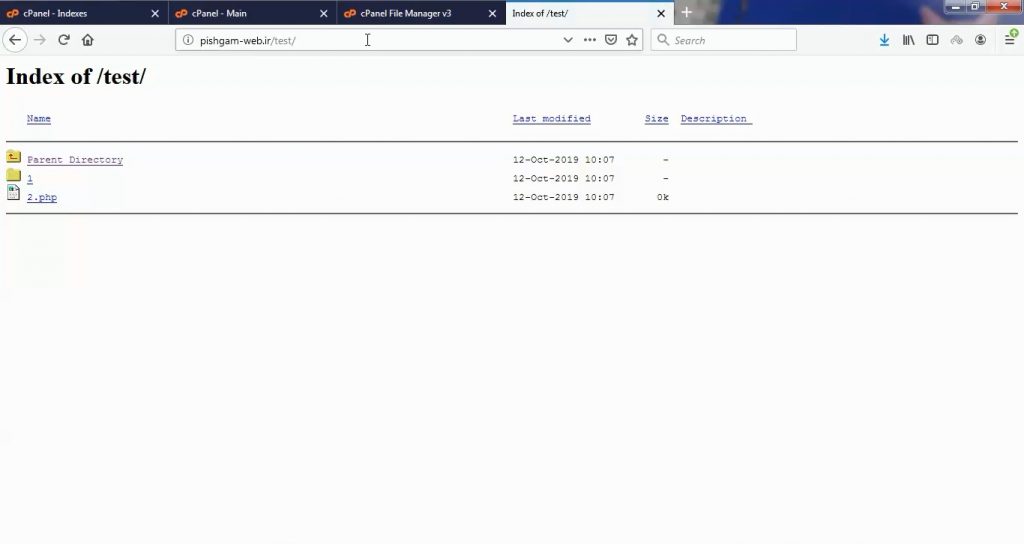
Fancy Indexing (filename and description) : هم نام فایل ها و هم توضیحات مربوطه را نمایش میدهد.
عکس بالا مربوط به نوع Fancy Indexing (filename and description) هست.
عکس بالا مربوط به نوع No Indexing هست.
عکس بالا مربوط به نوع Standard Indexing (filename only) هست.
مشاهده فیلم آموزشی از سایت آپارات
برای دانلود فیلم آموزش از قسمت تنظیمات روی گزینه دانلود کلیک کرده و کیفیت مد نظر خود را انتخاب کنید تا فیلم آموزش دانلود گردد.
نکته : هر چقدر که عدد این قسمت بیشتر باشد ، کیفیت فیلم دانلودی بالاتر خواهد بود.
آموزش های ابتدایی :
دوستان عزیز آموزش که خدمتتون ارائه کردیم از سری آموزش های ابتدایی پیشگام وب هست و این آموزش جزو پایه ای ترین آموزش های سایت هست امیدوارم که آموزشممون کامل باشه.
منتظر نظرات و پیشنهادات شما در قسمت دیدگاه های سایت هستیم.
learn in cpanel
Overview
When a visitor accesses a directory (rather than a page) on your web site, the browser typically displays the directory’s index page. If no index page exists, the browser displays a list of the files in that directory. Use the Indexes interface to define how the server displays a specific directory’s index to a visitor, or to disable index display for a directory.
Manage the directory index
To configure your directory settings
-
Click Settings, and then select one of the following locations in which to begin navigation:
-
Web Root — Begin navigation in the document root for the account’s primary domain.
-
Document Root for — Select the domain that corresponds to the document root in which you wish to begin navigation.
-
-
To configure the interface to always open your selection from Step 1, select the Always open this directory in the future checkbox.
-
Click Save Changes.
-
Navigate to the desired folder with the following:
-
To navigate into a folder, click the folder icon (
).
-
To navigate up one level of the directory tree, click Up One Level at the top of the list of directory contents.
-
To select a directory, click that directory’s name.
-
-
Select one of the following options:
-
Default System Setting — cPanel uses the default that your hosting provider defines.
-
No Indexing — The server does not list the contents of the directory. Browsers display a message that states that the contents are forbidden.
-
Standard Indexing — The server lists the directory’s contents as filenames only.
-
Fancy Indexing — The server lists file names and additional information, such as file size and time last modified.
-
-
Click Save.

 ).
).